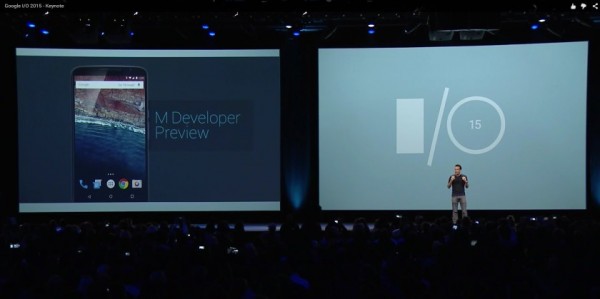
Google has just released the Android M (Marshmallow?) developer preview factory images for the Nexus 5 (hammerhead), Nexus 6 (shamu), Nexus 9 (volantis) and Nexus Player (fugu). To install these images, you will need to run a full factory image install, which means that all your current data will be lost.
We at Rewrite Tech have put together a quick step-by-step tutorial on how to install your device drivers, unlock bootloader, install custom recovery of your own choice, and flash Google’s new version of Android codenamed “M” onto your Nexus 5 (hammerhead).
You are required to follow each and every step carefully otherwise you will end up in a bootloop, or with a bricked phone, and we don’t want that and make sure that you read the tutorial once before actually performing it on you device.
You can check out the complete guide right after the jump.
Prerequisite:
- Make sure that your phone’s battery is charged up to a minimum of 75%. This is a requirement so that the entire process can be completed without any power outrage.
- This process will wipe your phone completely. Backup your storage before you continue. We are not responsible if anything goes wrong.
- If you have older Google USB Driver installed, please uninstall it from Control Panel before installing new. For this tutorial, we uninstalled all our device drivers, and also the Android SDK.
Step 1: Install the Nexus 5 Device Drivers
1. Turn your phone off. Then boot it into the bootloader mode by holding volume down + power for about 5 seconds.
Note: This is the same area you’d go, if you need to use fastboot.
2. Plug the phone into your PC via a USB cable:
3. Now we need to install the drivers. To do so, we will use the “All-in-One ADB installer”. Download it from any of the following links:
4. After the download completes, right click on the downloaded exe file and run as administrator. (It is important to do that otherwise sometimes it doesn’t install correctly).
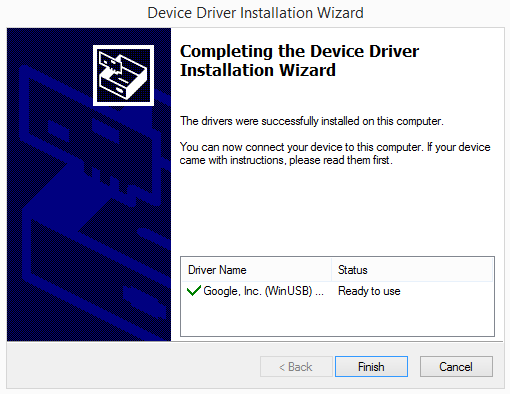
5. For the installation process, do as shown below:
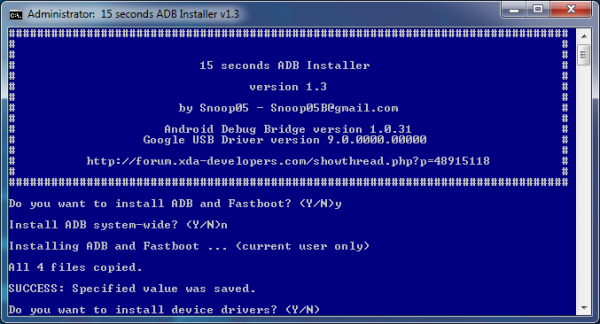
6. The installer will automatically recognize your system (32-bit or 64-bit) to install the appropriate drivers. Click next and start the installation.
7. Once the drivers are installed to the system, copy the “adb” folder, which is created in your C drive, to your desktop.
Next, we will begin unlocking the bootloader.
Step 2: Unlock Bootloader
1. Again turn your phone off. Then boot it into the bootloader/fastboot mode by holding volume down + power.
2. Plug the phone into your PC, then open a command prompt window (press Window Key + R then type in cmd) and type in the following command:
cd desktop/adb
3. Next, type in the following command just to test whether your device has been recognized or not. It should list your connected devices.
fastboot devices
Note: If your phone’s serial number shows up you are good to go and may continue. If it doesn’t recognize your device it means that your drivers aren’t installed correctly. In order for you to continue you must fix your drivers so that your phone is listed under fastboot devices.
4. If the phone has been recognized by the command above, proceed to unlocking the bootloader with the following command:
Note: This step will wipe EVERYTHING off the phone.
fastboot oem unlock
5. On your phone a screen should pop up asking whether or not you would like to unlock the bootloader. Use the volume keys to highlight “Yes” then press power to confirm the action.
6. After the above command has finished executing, run the following:
fastboot reboot-bootloader
If you have come this far, it means you have at least unlocked the bootloader. Now we will actually start installing the Android M preview factory image.
Step 3: Flash the Android M Preview System Image onto your Nexus 5
Warning: This is a preview version of the Android system image, and is subject to change. Your use of this system image is governed by the Android SDK Preview License Agreement. The Android preview system image is not a stable release, and may contain errors and defects that can result in damage to your computer systems, devices, and data. The preview Android system image is not subject to the same testing as the factory OS and can cause your phone and installed services and applications to stop working.
1. To begin installing Android M on your Nexus 5 (hammerhead), first download the Android M preview factory image for the Nexus 5 by clicking on the image below:

2. Uncompress the downloaded package and copy the contents of “image-hammerhead-MPZ44Q.zip” file in your “adb” folder on the desktop. You will have the following files:
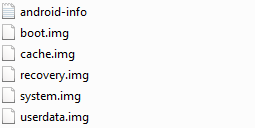
3. In the same folder, from the original archive, extract “bootloader-hammerhead-XXXXXX.img” (rename it to bootloader.img) and “radio-hammerhead-XXXXXX.img” (rename it to radio.img).
4. Now type in the following commands in cmd to flash the image onto your device.
fastboot erase boot
fastboot erase cache
fastboot erase recovery
fastboot erase system
fastboot erase userdatafastboot flash bootloader bootloader.img
fastboot reboot-bootloader
fastboot flash radio radio.img
fastboot reboot-bootloader
fastboot flash system system.img
fastboot flash userdata userdata.img
(Note: this command will wipe your device (including /sdcard), EVEN if your bootloader is already unlocked).fastboot flash boot boot.img
fastboot flash recovery recovery.img
fastboot erase cache
5. After completing the above step, start installing a custom recovery.
Step 4: Install a Custom Recovery
1. Download a custom recovery of your choice. Then place the recovery image in the “adb” folder located on your desktop.
Download Custom Recovery:
2. Rename the recovery file that you downloaded above to recovery1.img (so as to not overwrite recovery.img from the Android M package that already exists in the “adb” folder).
3. Now run the following commands in cmd:
fastboot flash recovery recovery1.img
fastboot reboot-bootloader
4. After the bootloader reloads, use the volume keys to scroll onto “Recovery Mode” and press power to select it. You should then be greeted with your newly installed custom recovery.
5. Close the command prompt window as we won’t need it anymore.
6. In the recovery, select “Wipe data/factory data reset” option and perform a factory reset.
7. Then perform a system reboot. The installation will take 5 or more minutes (maybe it takes this much time because of the new runtime ART, Google said it would take more time installing things) so please be patient and let it finish.
Note: If you are stuck at the boot animation and/or have encountered any other problem at this point, please boot into the bootloader mode again and reflash the Android M system image.
That’s all! You have now successfully installed your device drivers, unlocked bootloader, installed custom recovery and flashed Android M Developer Preview onto your Nexus 5 (hammerhead). If you have any queries regarding this tutorial feel free to leave a comment below. We’ll try our best to help you out.
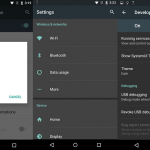
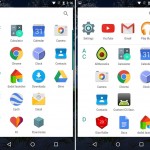
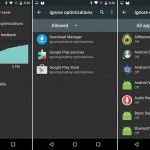
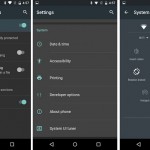
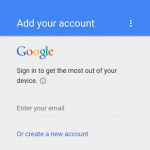
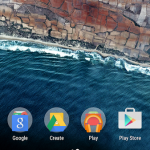
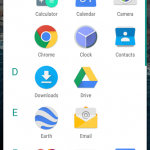
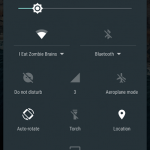
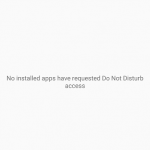
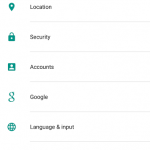
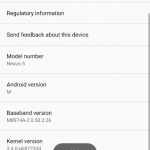
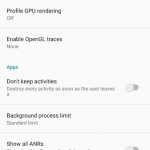
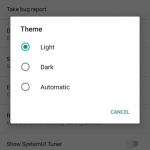
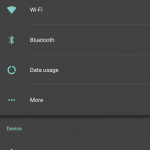
Here are the screenshots of Android M running on Nexus 5. We have tried to show everything that we don’t remember seeing before in Lollipop.